0. Preparation
After the drivers are installed and connected, go to the Device Manager to see that they have all been identified.
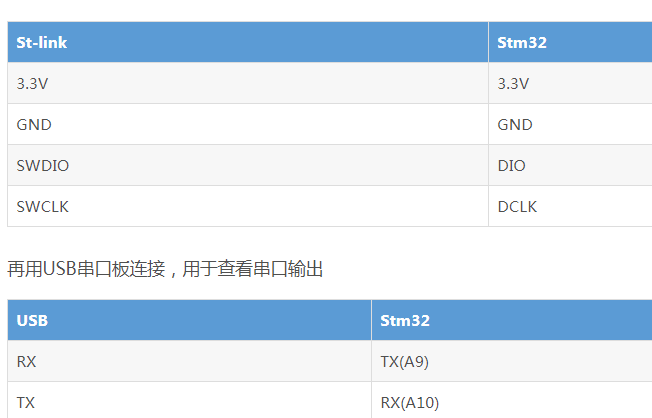
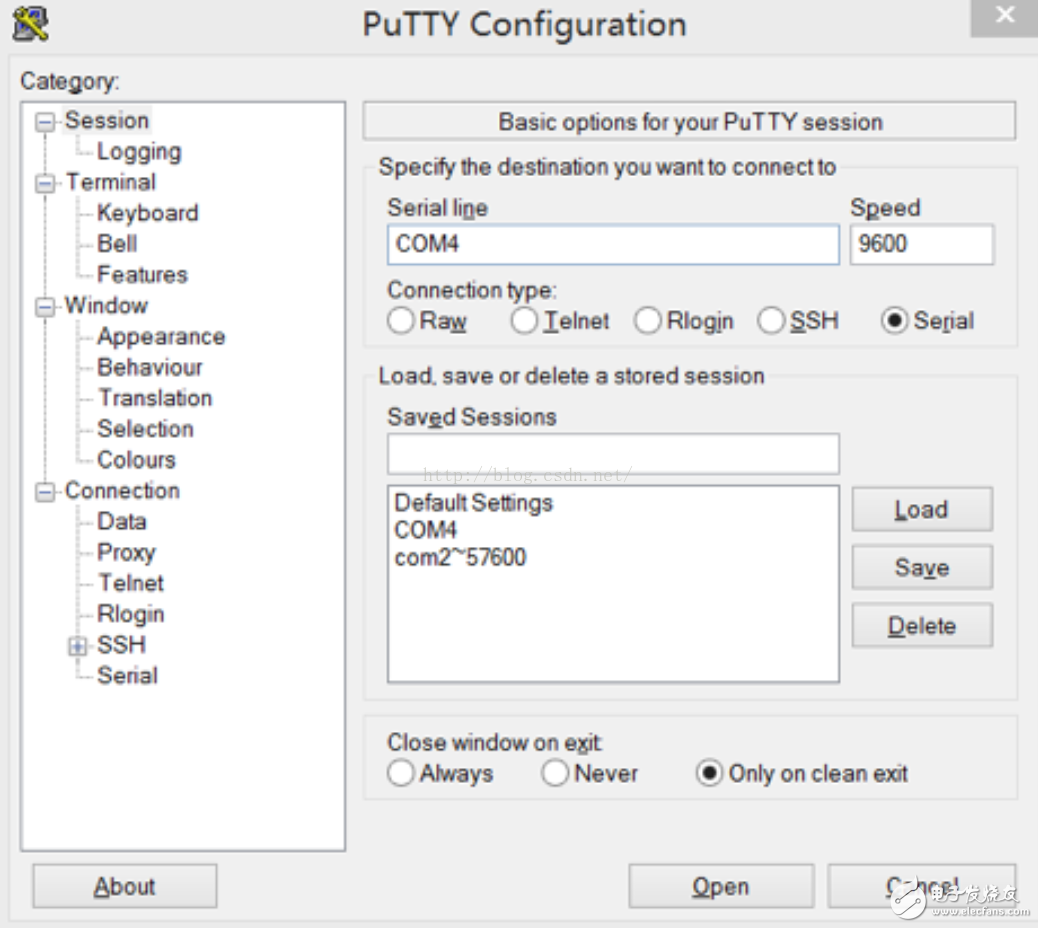
Open putty.exe, select the serial port connection, used to view the serial port output.
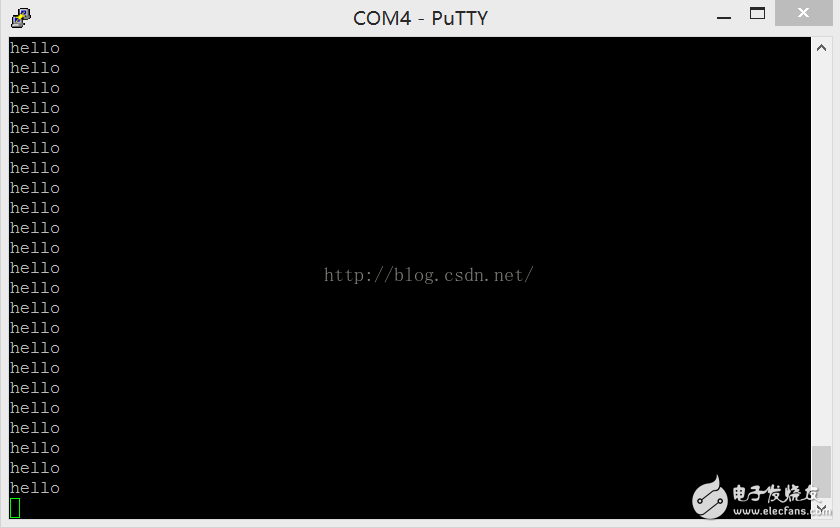
1. Write a Cube program, configure UART0 as 9600, 8n1, and output “Hello†to the serial port after power-on. Observe the result through the serial port software on the PC.
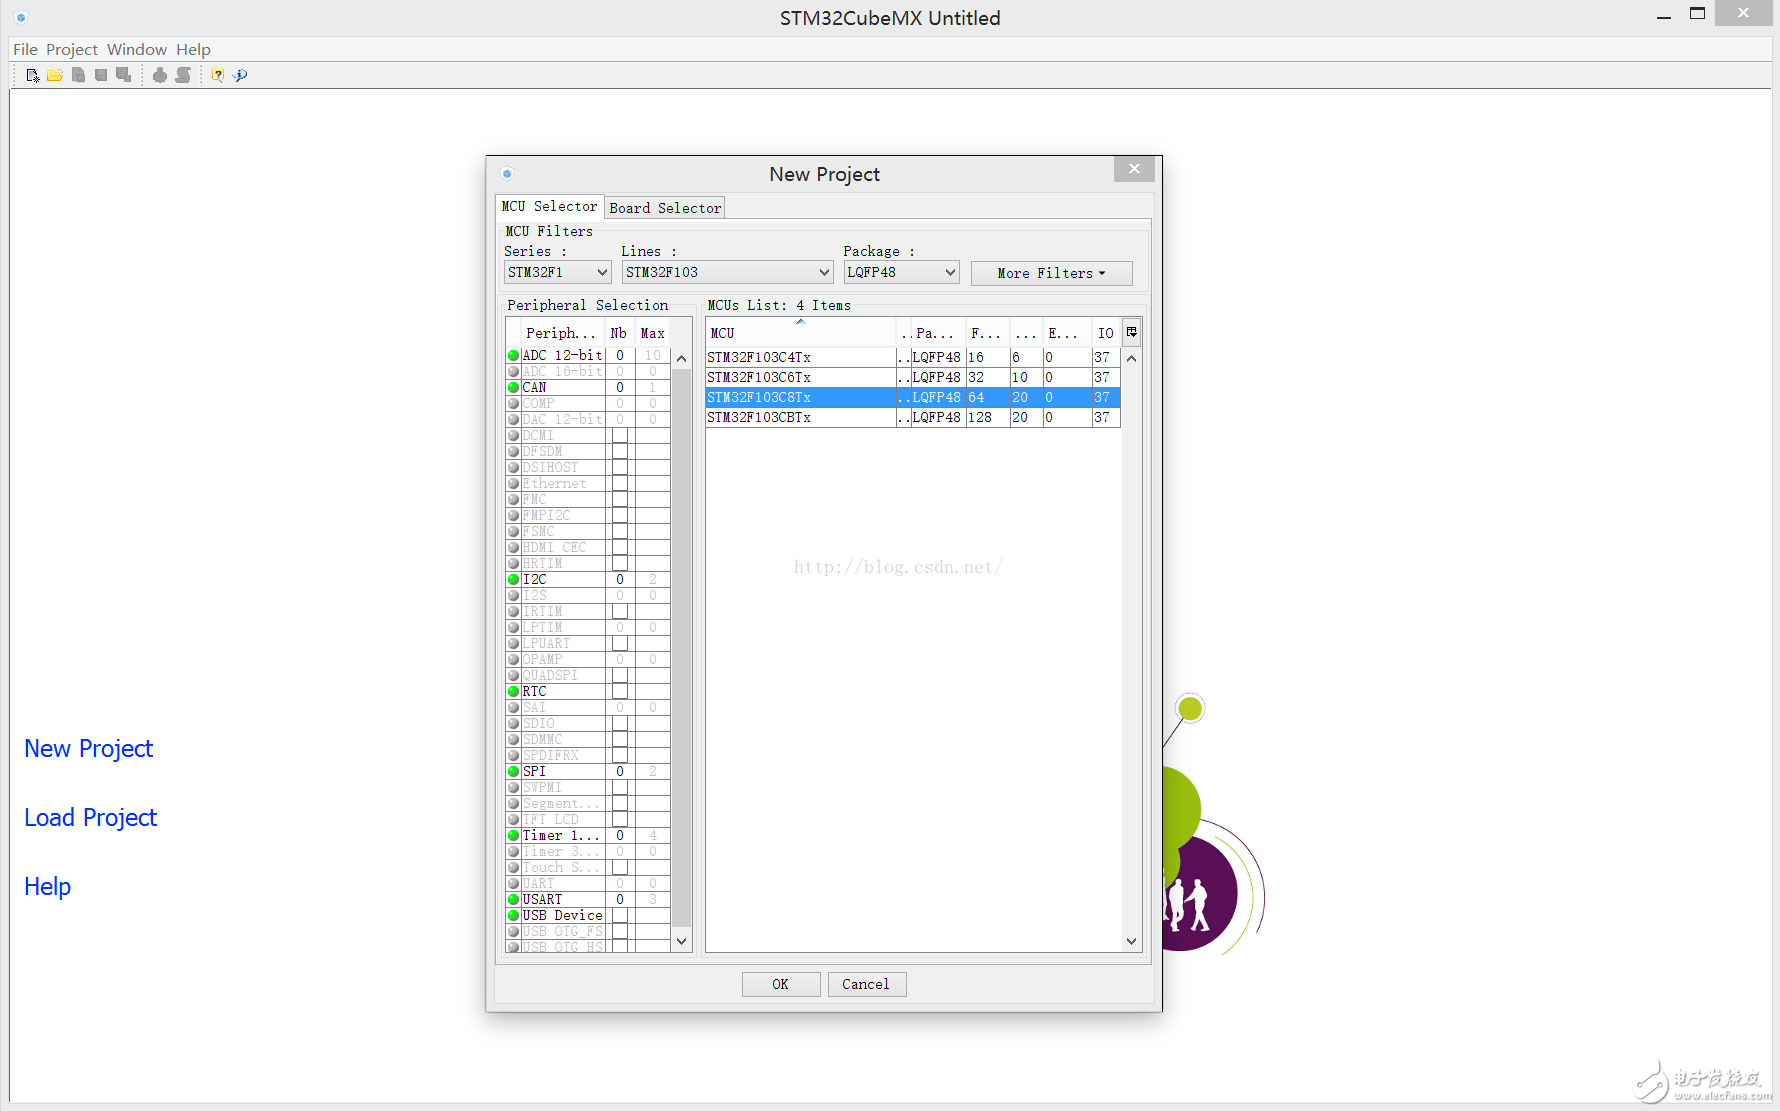
Installation is complete and open CubeMX software, select New Project, select STM32F103C8Tx and click ok.
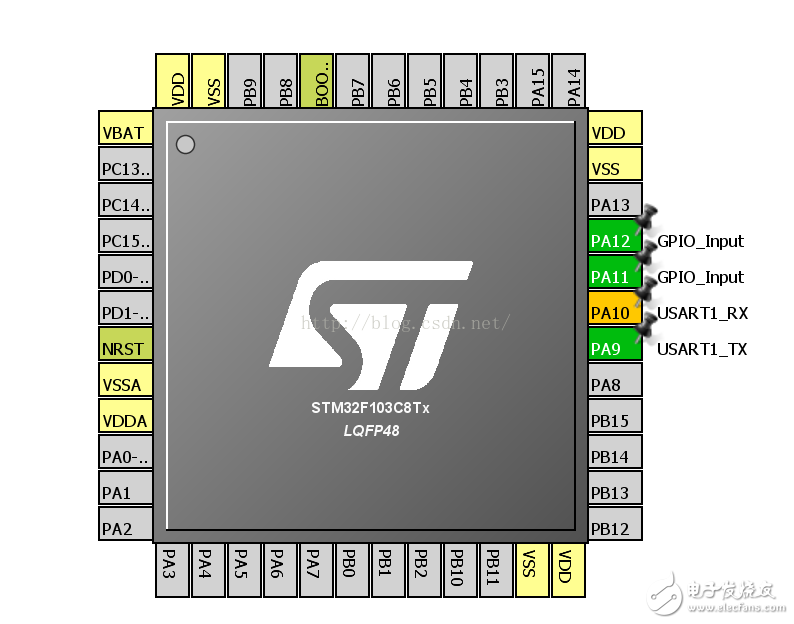
After entering the project interface we can see the pin diagram of the chip on the right, as shown below. We click on PA11 and PA12 and select GPIO_Input (for the back button). Then set the UART1 mode to Half-Duplex in the left configuration.
Before generating the code, enter the project configuration. Fill in the project name, save path, etc. and select IDE as MDK-ARM V5.
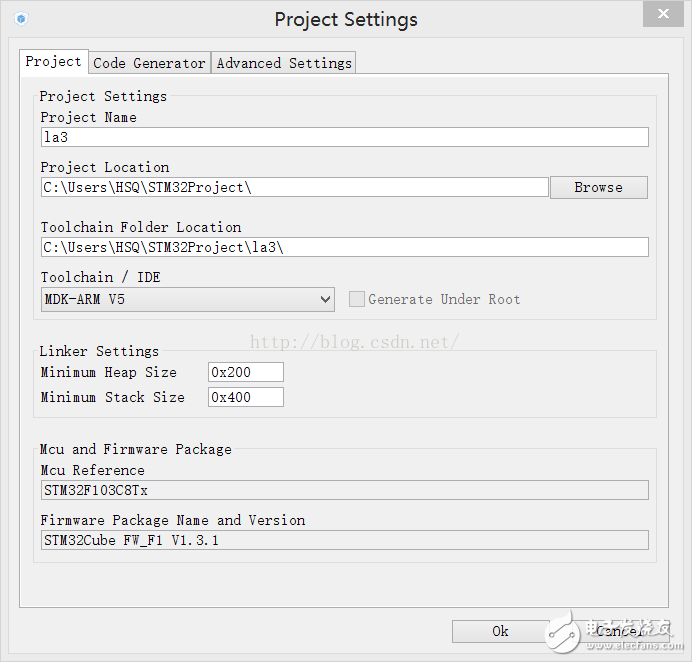
After setting is complete, click Generate Code. Note that if you do not install the library file, you will be prompted to download it, but the automatic update of the software is extremely slow, and often it will hang in the next half, so you can download and import it on the network.
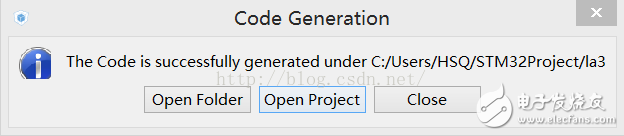
After generating the code, the following dialog box pops up, select open.
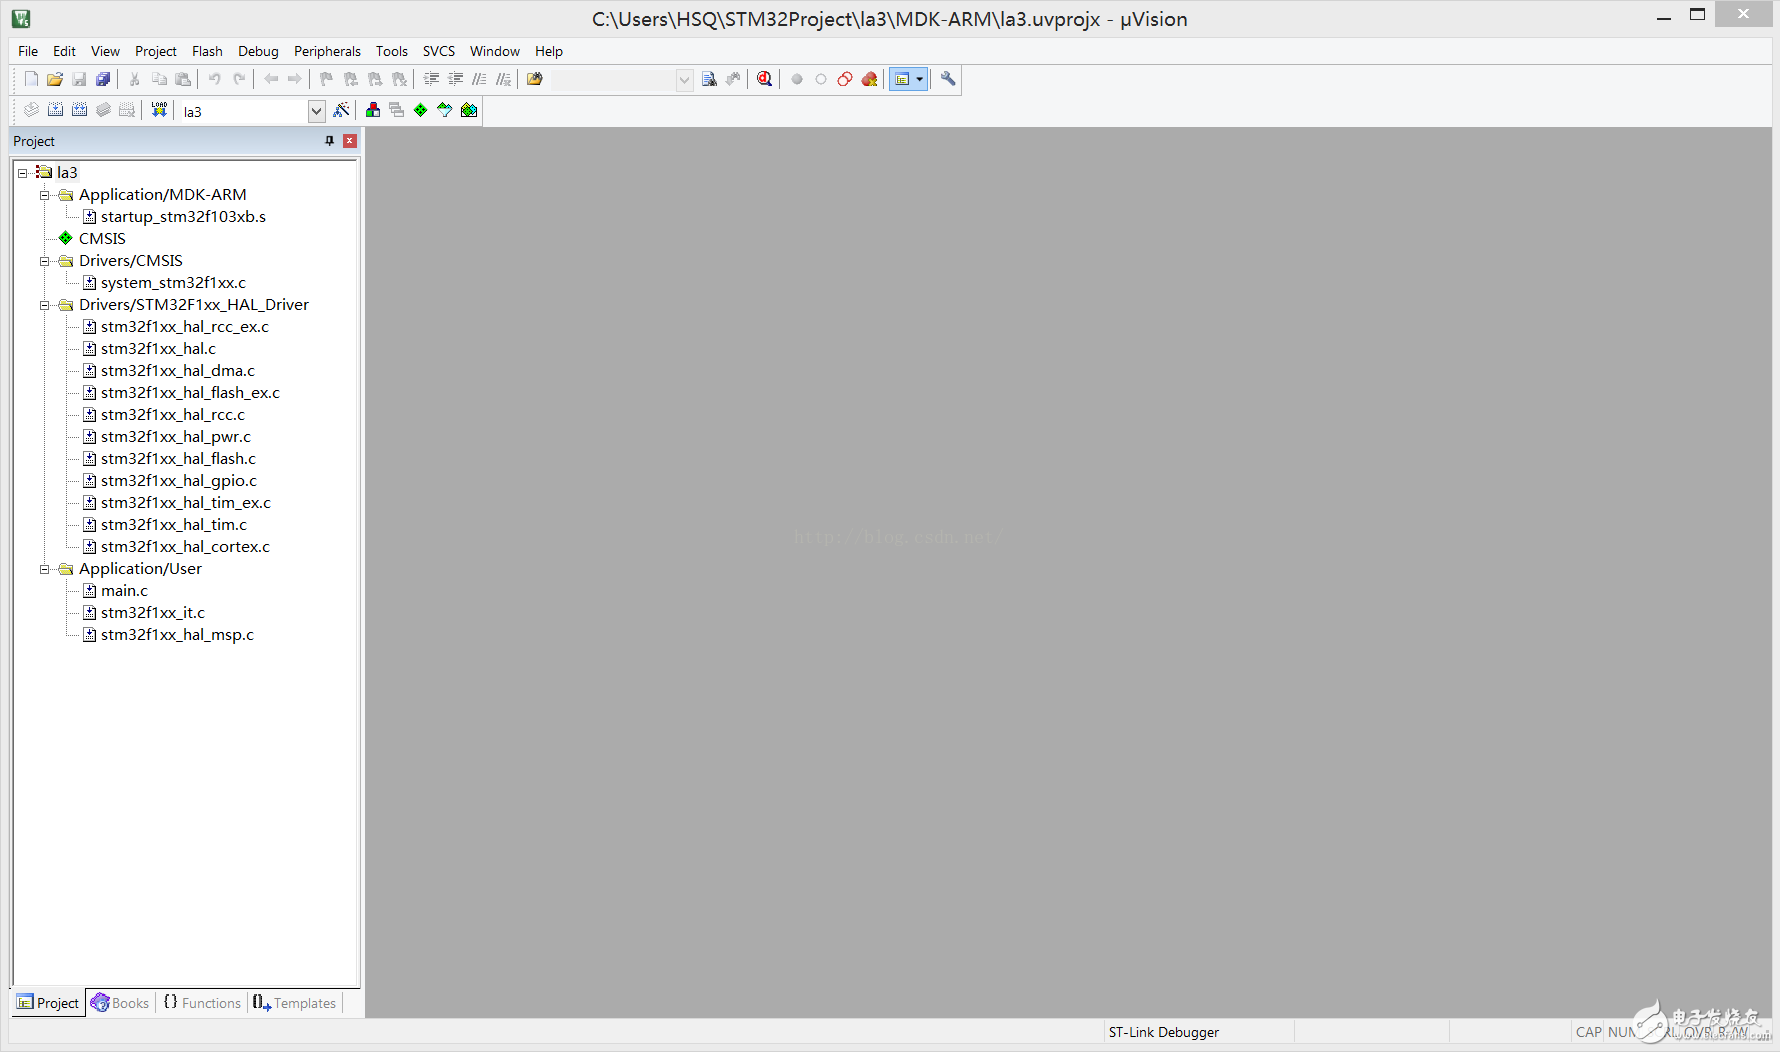
After entering keil5, we can see our project file directory as shown in the left column. Note that before opening, the Pack installer will pop up to download the corresponding programming tool and select the stm32f1xx series. Download is a little slow, you can import or copy others to import, the path is c:/keil v5/ARM/Pack
Then go to main.c and configure the UART as 9600, 8n1. The code is shown below.
Void UART0_Init(UART_HandleTypeDef* UartHandle){
UartHandle->Instance = USART1;
UartHandle->Init.BaudRate = 9600;
UartHandle->Init.WordLength = UART_WORDLENGTH_8B;
UartHandle->Init.StopBits = UART_STOPBITS_1;
UartHandle->Init.Parity = UART_PARITY_NONE;
UartHandle->Init.HwFlowCtl = UART_HWCONTROL_NONE;
UartHandle->Init.Mode = UART_MODE_TX_RX;
HAL_UART_Init(UartHandle);
}
In the main function fill in the following two lines of code
UART_HandleTypeDef UartHandle;
UART0_Init(&UartHandle);
And output hello code
HAL_UART_Transmit(&UartHandle, (uint8_t*)"hello", 7, 500);
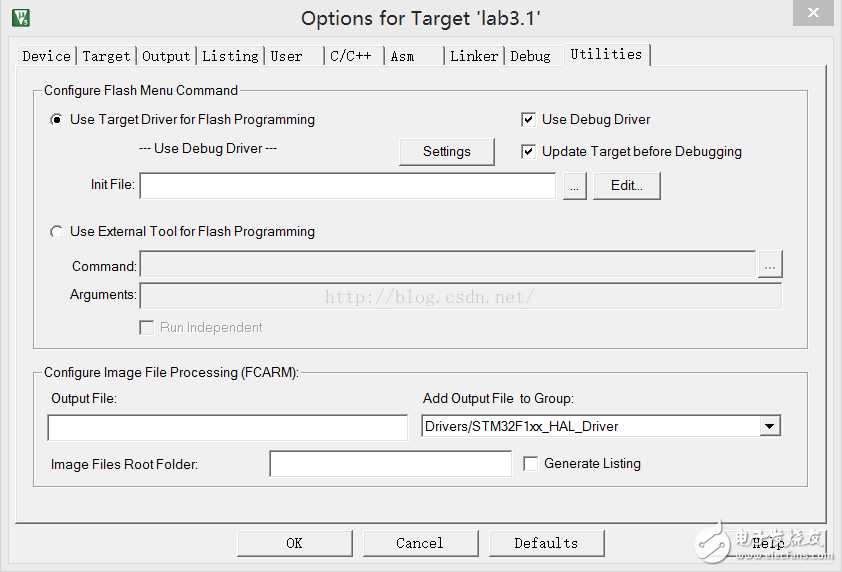
After completing the code, prepare to compile. Select flash-settings, enter the UTIliTIes tab, select setTIngs, and configure the following:

Then F7 compiles and burns the program to the core board. Press the reset switch on the board to see the serial output on putty.
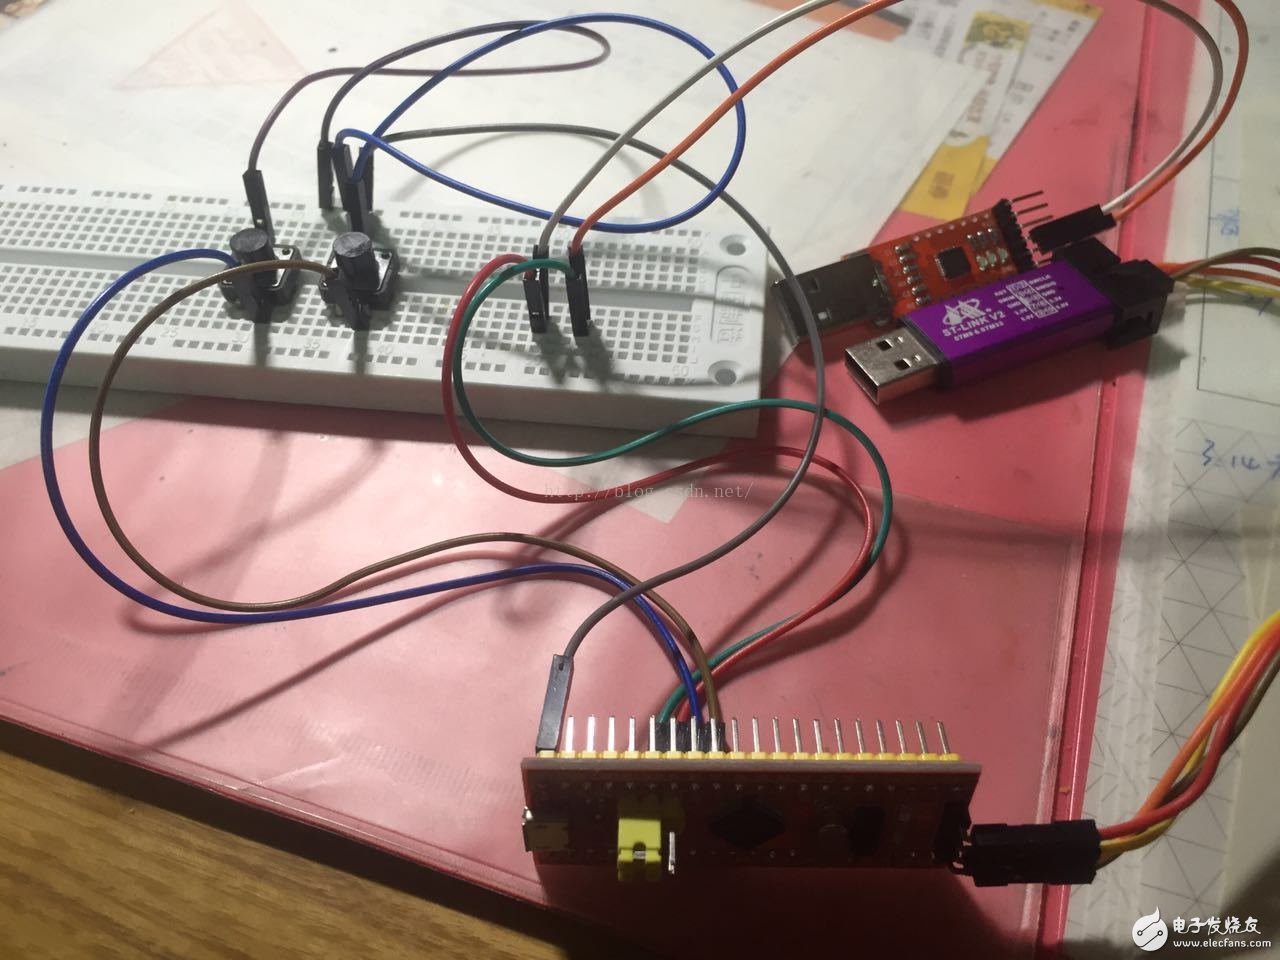
2. Connect a push button switch to the ground through the breadboard on each of PA11 and PA12;
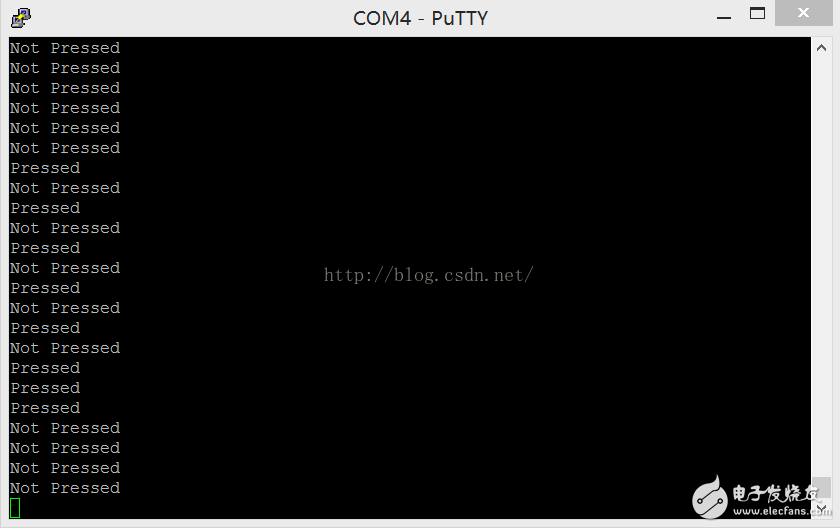
3. Write Cube program, configure PA11 and PA12 as internal pull-up to input mode, detect PA11 button press in main() function loop, and output “Pressed†in serial port when the button is pressed;
The pin settings can be changed graphically in CubeMX and can also be modified directly in the code:
Void MX_GPIO_Init(void)
{
......
GPIO_InitStruct.Mode = GPIO_MODE_INPUT;
GPIO_InitStruct.Pull = GPIO_PULLUP;
......
}
Add code in while(1) loop detection and output
......
If(!HAL_GPIO_ReadPin(GPIOA, GPIO_PIN_11))
HAL_UART_Transmit(&UartHandle, (uint8_t*)"Pressed", 9, 500);
Else
HAL_UART_Transmit(&UartHandle, (uint8_t*)"Not declared", 13, 500);
......
Output as shown
4. Write a Cube program and configure the falling edge of PA12 to trigger an interrupt. Two global variables are set in the program, one for counters and one for identification. When the interrupt is triggered, the counter increments by one and sets the flag.
Identify the flag in the main loop. If the flag is set, clear the flag and output the counter value through the serial port.
Set the falling edge interrupt for PIN12 in the GPIO init function and set the priority.
GPIO_InitStruct.Pin = GPIO_PIN_12;
GPIO_InitStruct.Mode = GPIO_MODE_INPUT;
GPIO_InitStruct.Pull = GPIO_PULLUP;
GPIO_InitStruct.Mode = GPIO_MODE_IT_FALLING;
HAL_NVIC_SetPriority(EXTI15_10_IRQn,0,0);
HAL_NVIC_EnableIRQ(EXTI15_10_IRQn);
HAL_GPIO_Init(GPIOA, & GPIO_InitStruct);
ZGAR AZ Vape Pods 5.0S
ZGAR electronic cigarette uses high-tech R&D, food grade disposable pod device and high-quality raw material. All package designs are Original IP. Our designer team is from Hong Kong. We have very high requirements for product quality, flavors taste and packaging design. The E-liquid is imported, materials are food grade, and assembly plant is medical-grade dust-free workshops.
From production to packaging, the whole system of tracking, efficient and orderly process, achieving daily efficient output. WEIKA pays attention to the details of each process control. The first class dust-free production workshop has passed the GMP food and drug production standard certification, ensuring quality and safety. We choose the products with a traceability system, which can not only effectively track and trace all kinds of data, but also ensure good product quality.
We offer best price, high quality Pods, Pods Touch Screen, Empty Pod System, Pod Vape, Disposable Pod device, E-cigar, Vape Pods to all over the world.
Much Better Vaping Experience!


Pods, Vape Pods, Empty Pod System Vape,Disposable Pod Vape Systems
ZGAR INTERNATIONAL(HK)CO., LIMITED , https://www.zgarvape.com